The Board Director Zoom Meeting Scheduler is easy to install and remove.
Adding the Zoom Integration
After you are logged into the board director portal, you can click “My Profile” in top right next to red plus sign.

You should then click “Connections”
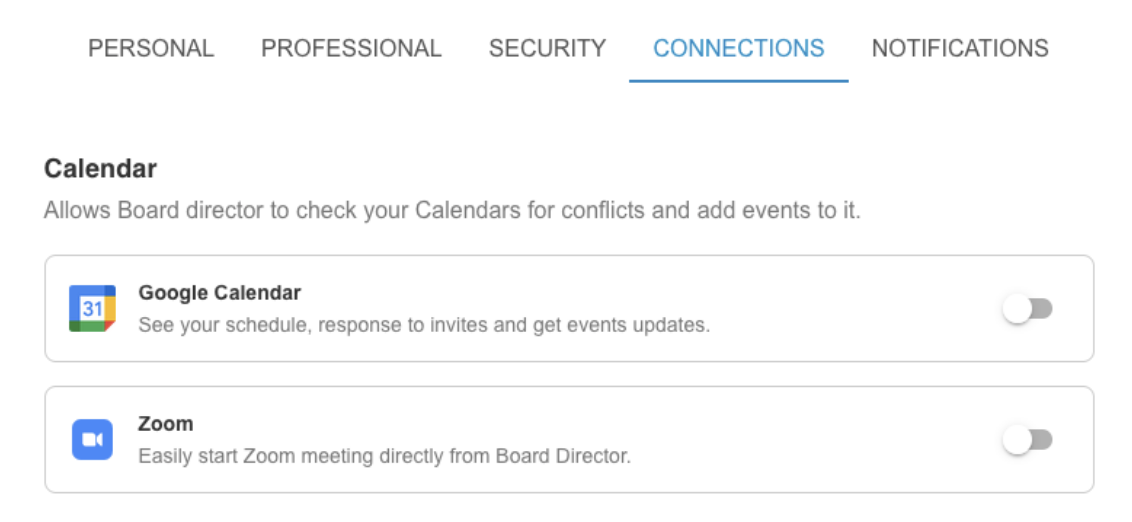
Toggle the Zoom selector.
A page requesting access to add will open.
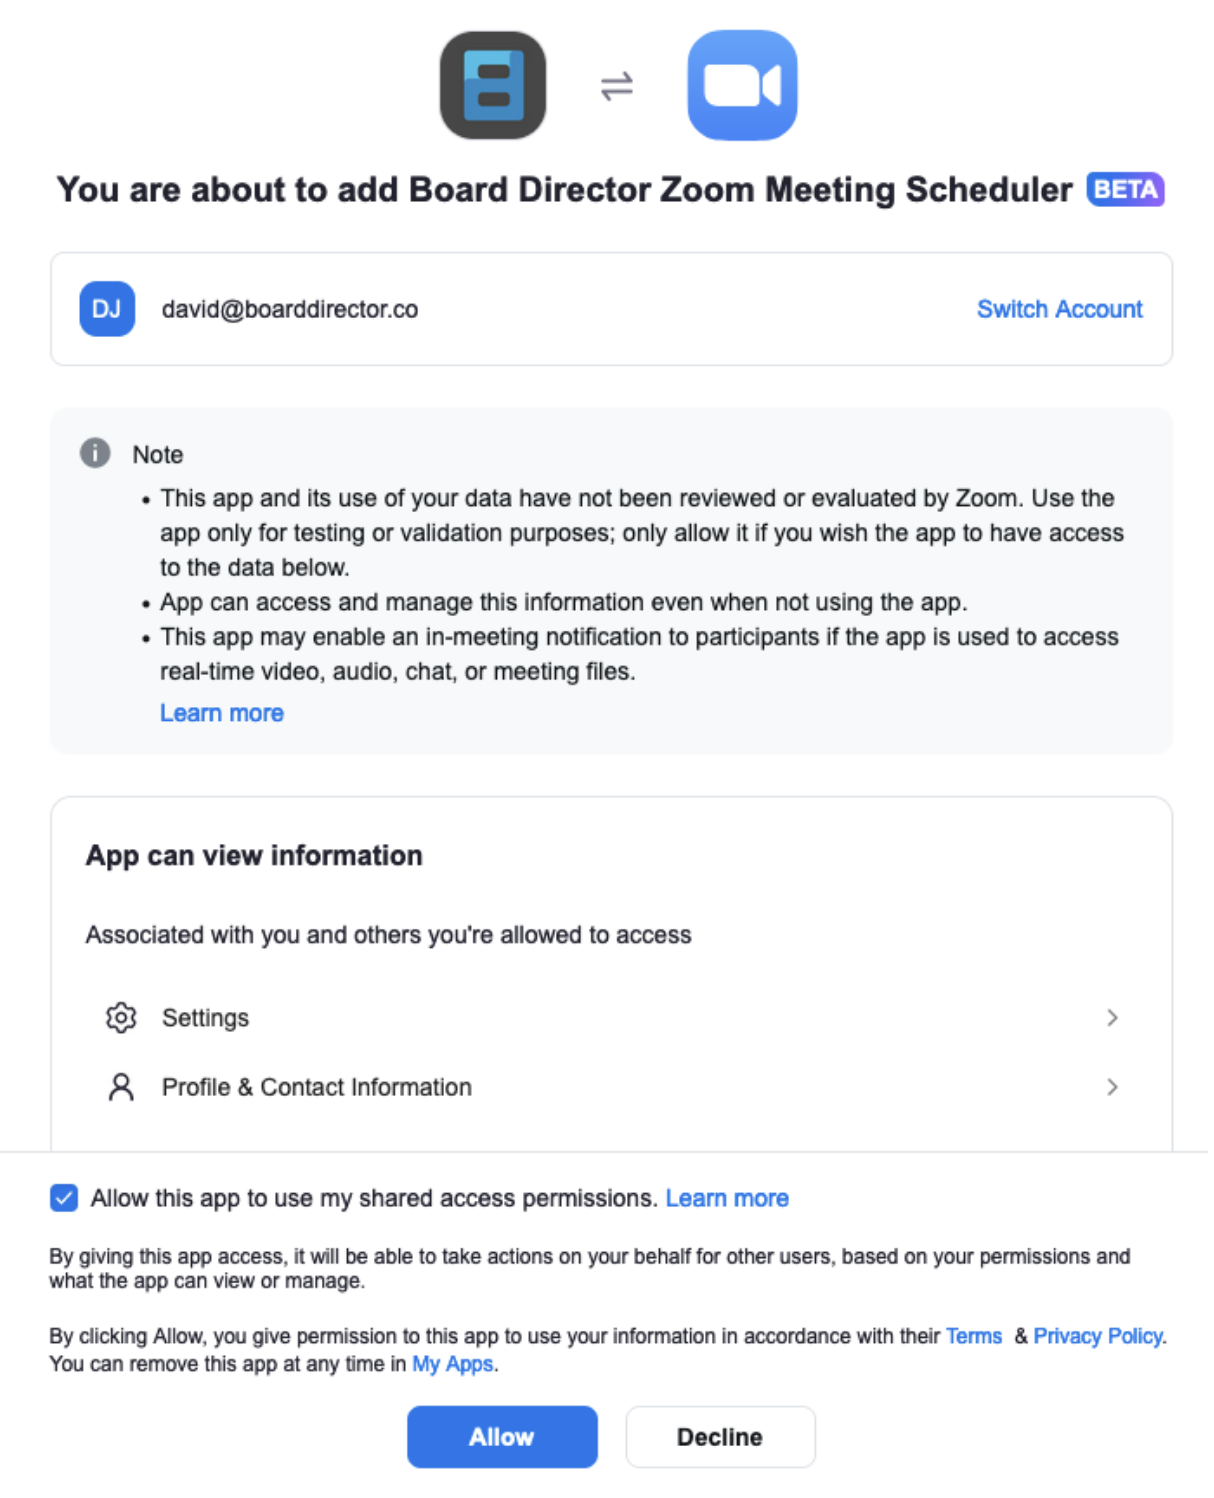
You may check the box and click “Allow” button.
It should redirect you back to the board direction “Connections” page.
The Zoom toggle should slide to right, indicating connection added successfully.
![]()
Removal
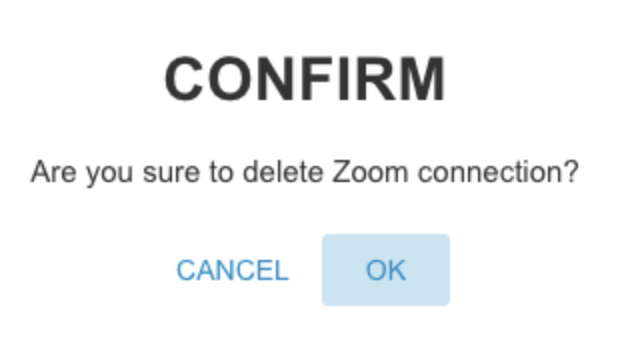
To removal the Zoom integration from your membership, simply slide the toggle back to the left.
Click “Confirm” when prompted.
If you would rather remove access directly using the Zoom portal
Visit https://marketplace.zoom.us/user/installed (you may need to login first).
Under apps in Production, you should see “Board Director Zoom Meeting Scheduler”.
Select “Remove”.
You may give an optional reason when you click the “remove” button a second time to confirm.
Usage
When creating a meeting, you may select to “make it a Zoom meeting”.
How to create a Board Director Meeting
On the left panel click to open the “Calendar” and then “Meetings”.
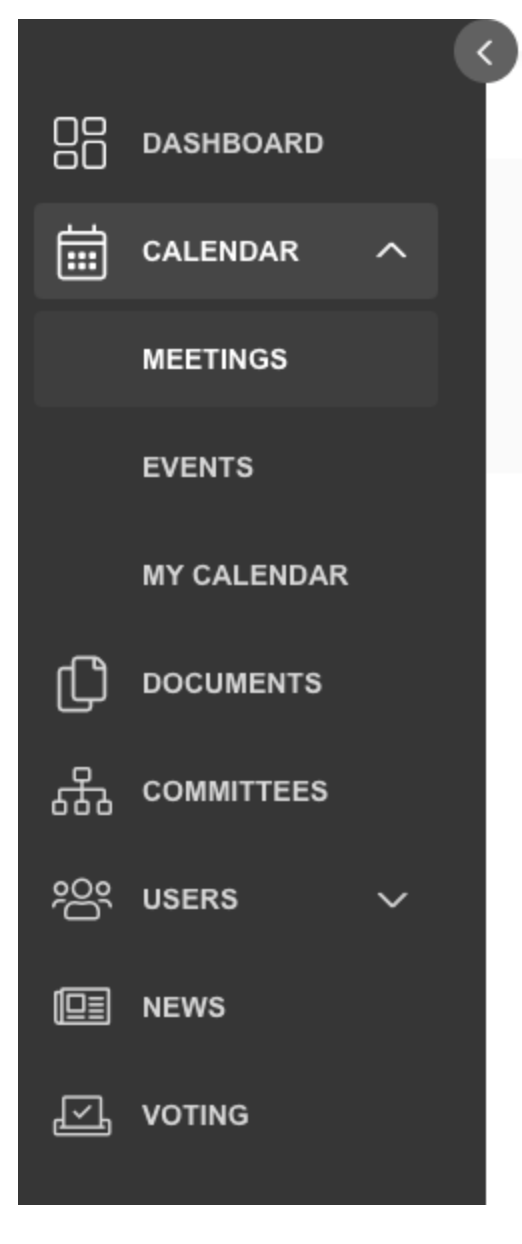
In the middle of the page, click “add meeting”.

Fill in the details of the meeting.
Be as complete as possible. Some fields are required.
Select the option to “Create meeting in Zoom” towards the bottom of the form.
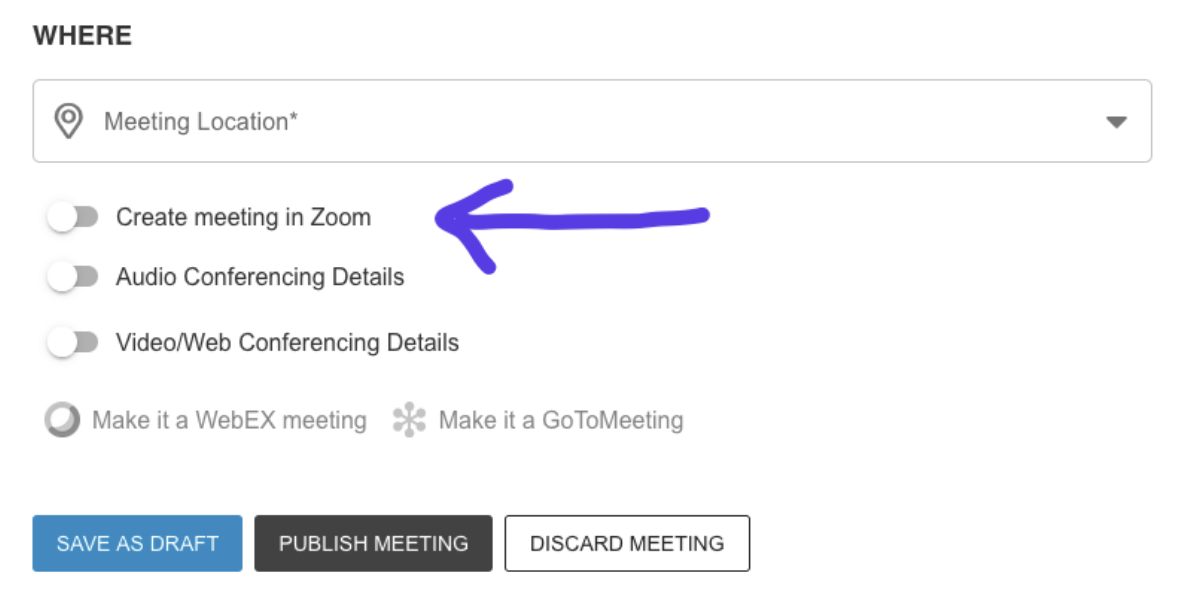
Save the meeting.
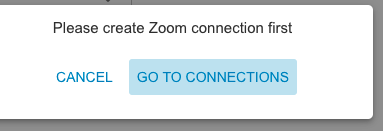
If you didn’t add the Zoom connection in the earlier step, it will notify you that it must be done first.
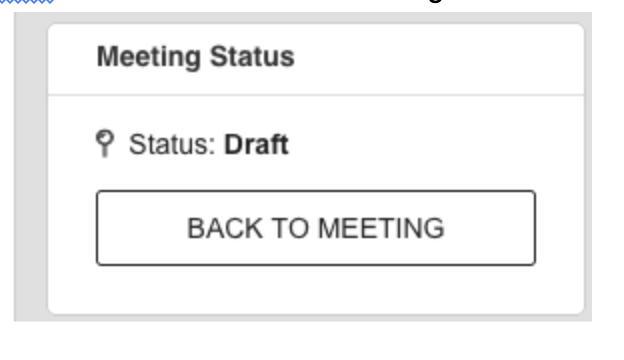
When meeting is saved or published, the Zoom meeting will be created.
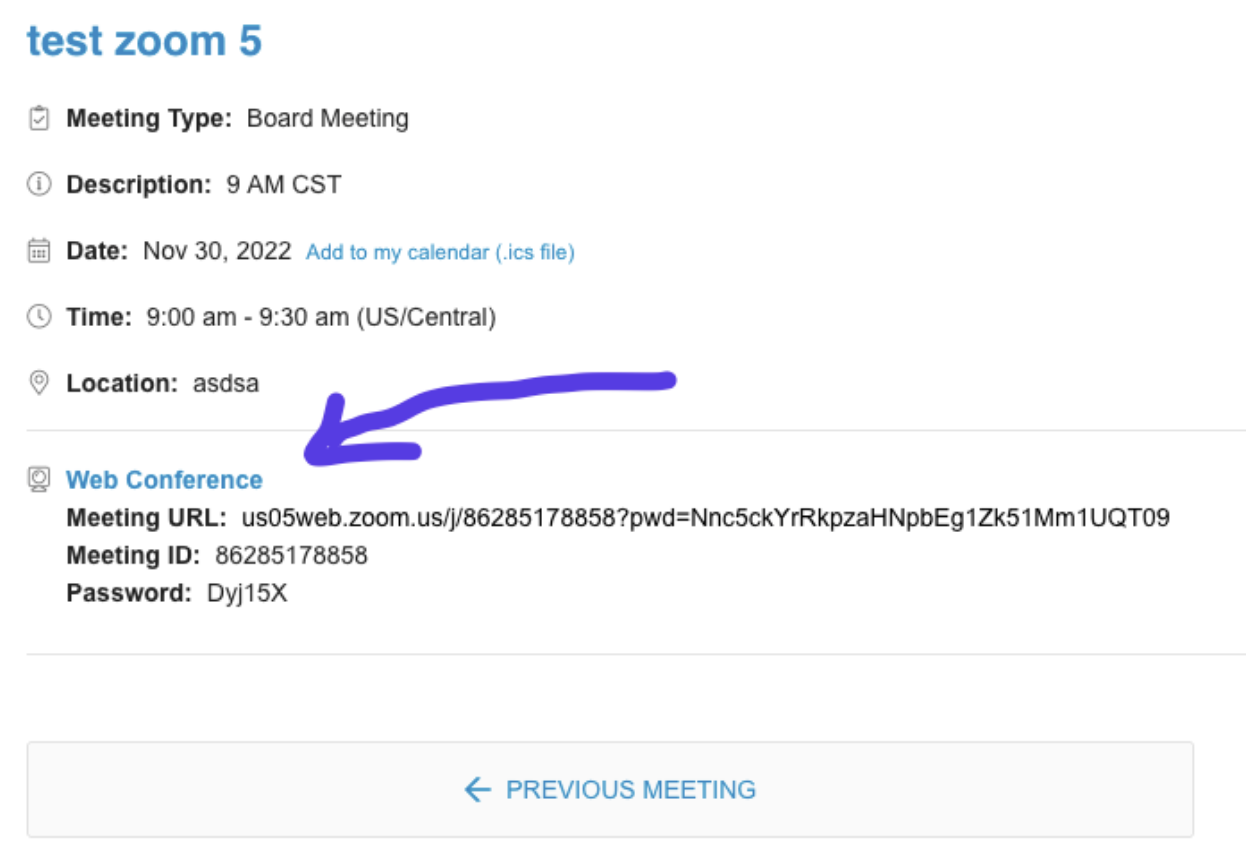
User can click to “Back To Meeting” and see the Zoom meeting details.
After successfully creating the meeting, the details of Zoom Meeting will show on the Meeting Details page.
The url to join the Zoom meeting along with credentials will display as shown below.